


-
1
Once you're ready to get started, begin by prepping your closet doors. Clean and sand in the direction of the grain as needed, then use a damp cloth to remove any residual dust.
We recommend sanding with a heavier grit first to remove any large blemishes or rough spots, then smoothing out your surface with a finer grit.
-
2
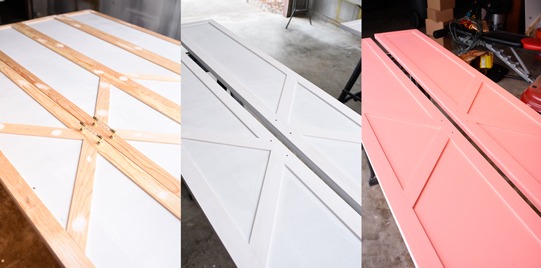
Prime your doors before you add your pop of color. This project uses the addition of lattice to create a fun detail on the closet doors. If you are adding lattice, we recommend prepping it while the primer dries. Apply the lattice once the primer is dry.
-
3
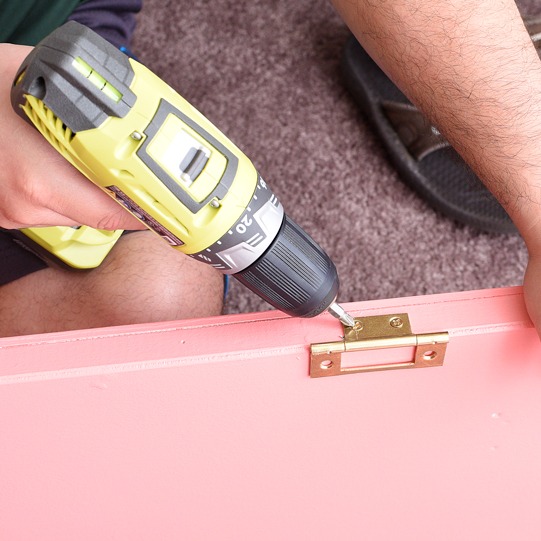
Use wood filler and caulk to patch any seams and holes, and then drill holes for new hardware. Let the doors rest overnight.
-
4
The next day, check your caulk and wood filler for spots that require sanding. Sand as needed, and then remove any dust residue with a damp cloth.
-
5
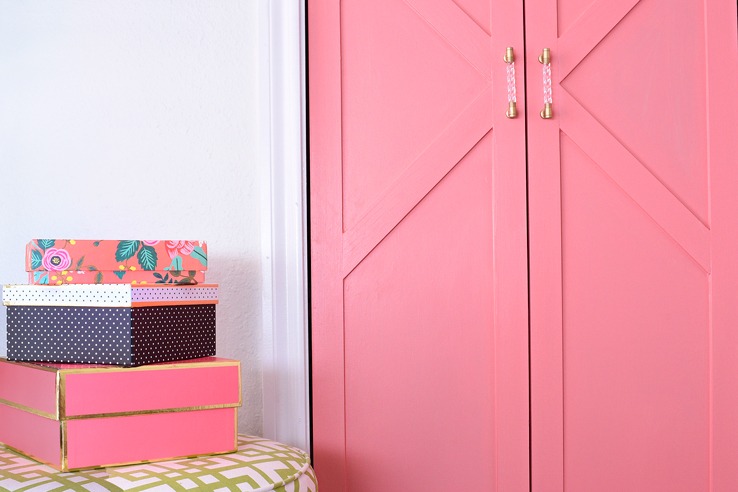
Time to paint! These doors are painted with Emerald Interior Acrylic Latex paint, Satin finish in Dishy Coral SW 6598. Be sure to give your paint a good stir before you begin. We recommend two coats for the best coverage.
-
6
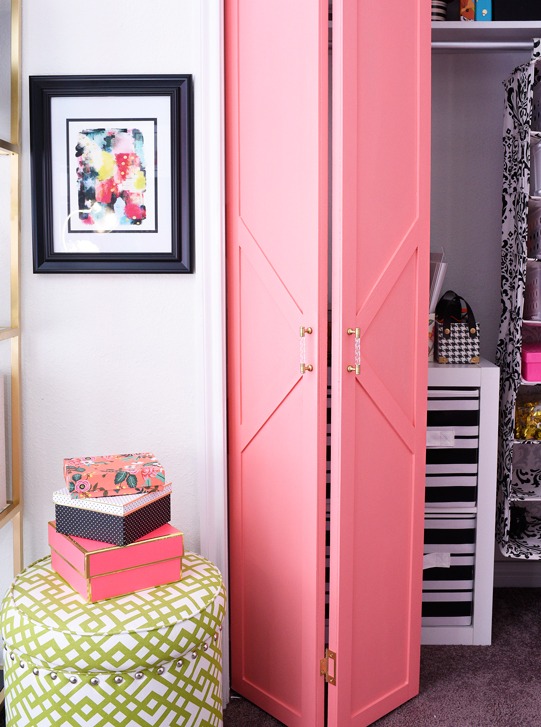
Once your doors are completely dry, attach any additional hardware and hang your new favorite room accent: your painted closet doors!
-
7
Clean up: Always clean your brushes for future use. Learn how to properly store and dispose of paint here.
Close