-
1
Prep
Clean your surface. Using a cloth or cellulose sponge dampened with water and a little mild dishwashing liquid, wipe down the wall(s) to be painted to remove dust and dirt. Rinse the walls with clean water to remove soap residue. Patch any holes with lightweight spackling, lightly sand*, then remove any dust.
Don’t forget to remove furniture in the room to give yourself room to work. Tape around the edges of your surface.
-
2
Paint Base Color
Begin by painting the entire wall the lightest shade of paint (we used Honest Blue SW 6520) and let it dry 3-4 hours.
Tip: Look for paint that has paint and primer in one, such as SW Emerald Interior Acrylic Latex Paint. A paint and primer in one will ensure good coverage on the wall, which will make a fresh surface for your paint to blend.
-
3
Plan
To achieve the ombre look, measure three equal sections on your wall and mark lightly in pencil.
Note: The top section will be the lightest color. The darkest color goes at the bottom, leaving the third color for the center.
-
4
Paint Middle Section
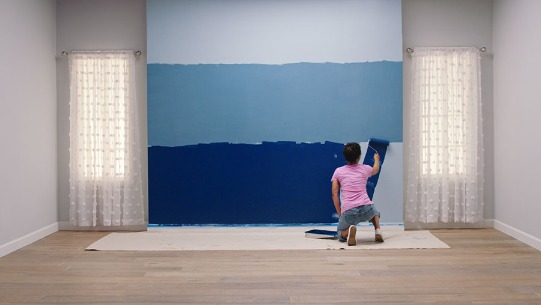
Paint the middle section with the second-lightest color (we used Sporty Blue SW 6522). Use a roller for a nice even look. No need to be exact with your edges, you will be blending them together later.
-
5
Paint Bottom Section
Paint the darkest color at the bottom of the wall (we used SW 6524 Commodore). Leave a little room between your two colors.
Tip: For a more subtle ombre that uses similar colors, consider choosing three colors that are in the same color family. Stay away from the darkest color if you can, for a more soothing palette. If drama is what you’re looking for, then consider a bold hue for your darkest color, but select your color with care.
-
6
Create Wet Edge
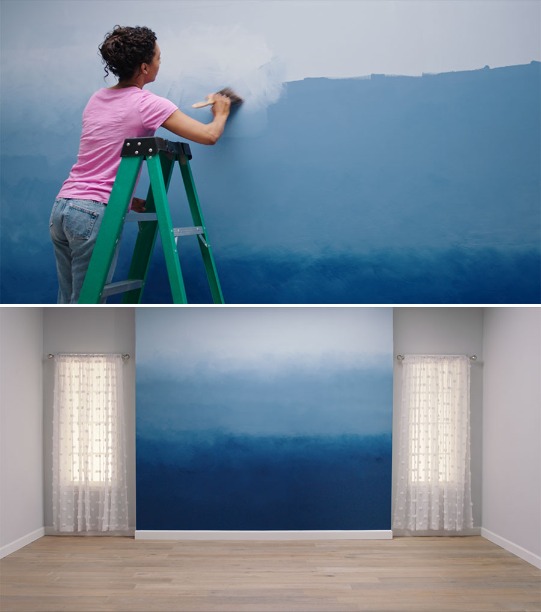
Using a 4” paint brush, repaint the bottom edge of your middle color.
With a different 4” paint brush, repaint the bottom color adjacent to your new wet edge of your middle color.
-
7
Blend in Small Sections
Hold the brush at a 45 degree angle to blend the colors evenly. Start by creating an “X” with the paint brush, blending the two colors together. This is when you want the colors to mix and blend together, forming a gradient. Continue working in small sections to ensure you are consistently blending with wet paint.
-
8
Repeat STEPS SIX and SEVEN for top colors. Let dry for 3-4 hours.
Enjoy!
-
Your Sherwin-Williams
{{storeData.address | sentenceCase}}
{{storeData.city | sentenceCase}}, {{storeData.state}} {{storeData.zip}}
{{storeData.phone
| phone}}{{storeData.phone | phone}}
Click the link below and get directions to your closest Sherwin-Williams store.
- Homeowners \
- Inspiration\
- Videos\
- Project Center\
- How To Paint a Beautiful Ombre Accent Wall Video
How to Paint a Beautiful Ombre Accent Wall
- Time
- Day
- Cost
- High
- Difficulty
- Advanced
Project Overview
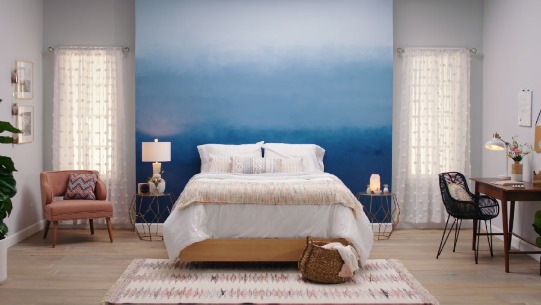
Let's face it the color of the walls in a room is very important. They can set the mood and can dictate the theme for the entire room. Adding the Ombre Effect to an accent wall is a great way to introduce your own personal color to any room. Get started with these easy-to-follow instructions!
Supplies For This Project
- Scotch-Blue Painter's Tape
- Three colors of Emerald Interior Acrylic Latex Paint
- Paint tray liner
- Paint Tray - Sherwin Williams Standard Duty Metal Tray
- Sherwin-Williams Contractor Series Polyester Roller Cover
- Shewin-Williams Roller Frame
- Purdy Swan XL 4" brush
- HANDy Paint Cups
- Straight edge
- Lightweight spackling
- Step ladder (if needed)
- Paint stir stick
- Pencil
- Water and Dish soap
- Sponge
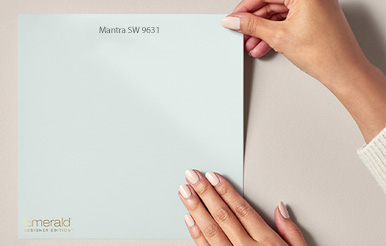
Colors We Used
-
Choose Color with Confidence
View Color Selection Tools


