-
1
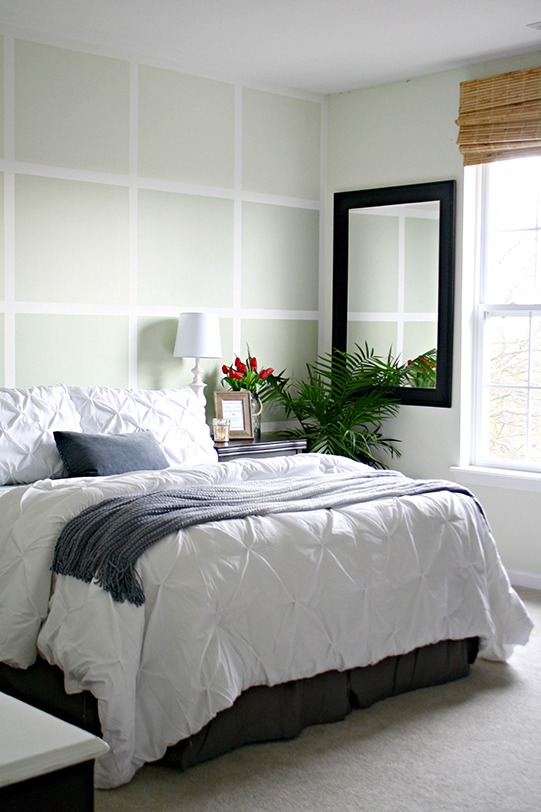
After you've pulled everything away from the wall and laid down a drop cloth, use twine or a small rope and thumbtacks to section off squares. Use the twine or rope as a guide and mark your squares with painter's tape. Be sure to remove any outlet covers before you paint.
Be sure to double-check your line measurements and balance with a level before you begin to paint.
-
2
Apply two coats of paint inside the squares you marked off in Step 1 with an angle brush for smaller squares, or a roller for larger squares. Leave 4 hours between coats to ensure the paint is dry.
Depending on your current wall color, you may have to prime before you paint. Visit your local Sherwin-Williams store for expert advice and help selecting the best products for your project.
-
3
Once the paint is dry to the touch, slowly pull off the tape at an angle, toward you.
If the paint has dried over the tape, carefully use a razor blade to break the bond between the tape and the paint.
-
4
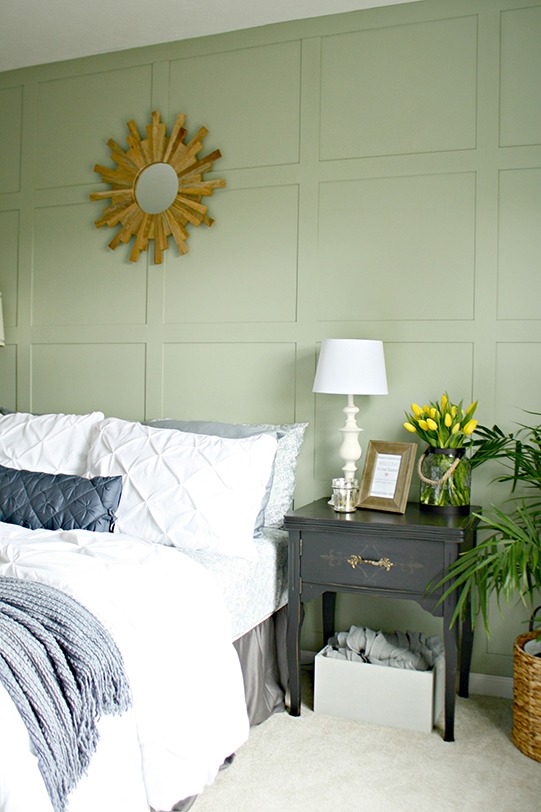
At this point, you can leave the wall as-is, or you can add painted wood planks to give your space texture and dimension. Paint the planks the same color as your wall, or try a slightly lighter or darker shade for a subtle contrast.
This project use 2-1/2 inch strips of wood. We recommend using wood that is slightly wider than your unpainted (taped) wall space to avoid having to retouch any areas that aren't covered. Sand the edges of your wood before painting.
-
5
Once your wood is painted and dry, adhere it to your wall using a nail gun. Be sure to take the appropriate safety precautions when using a nail gun.
-
6
Clean up: Always clean your brushes for future use. Learn how to properly store and dispose of paint here.

- Time
- Weekend
- Cost
- High
- Difficulty
- Advanced


