


-
1
Clean the walls with a bucket of soapy water and sponge to remove any dirt before painting.
-
2
After the walls have dried, use a yardstick to measure out the background shape of the design.
-
3
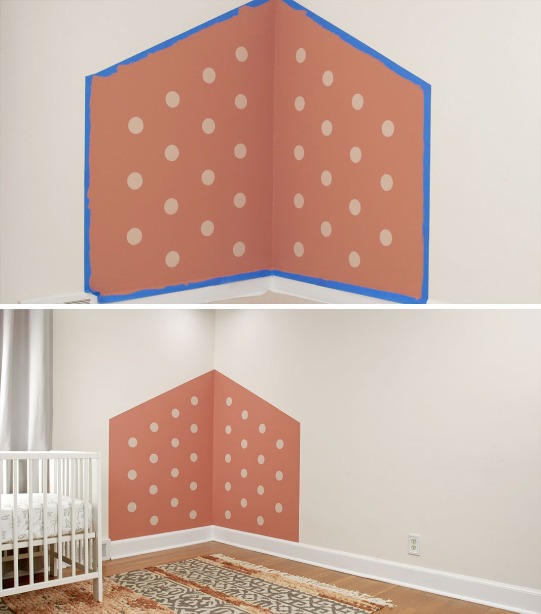
Use painter’s tape to tape off your design. Make sure to tape on the outside of your marks.
Tip: Use a drop cloth to keep the baseboards and floor clean.
-
4
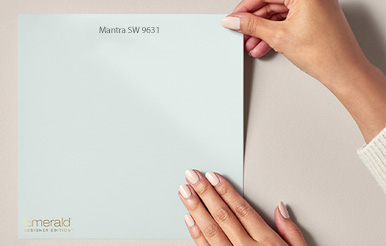
Use a 2 ½” brush and Harmony Interior Acrylic Latex (Rojo Dust SW 9006) to paint the border of the background shape. Then use a 9” roller with ½” nap to paint the rest of the shape, ensuring that the paint is applied as evenly as possible.
Tip: Using a roller makes painting go faster and helps you apply paint evenly.
-
5
Once the paint has dried completely (4-6 hours), use a yardstick and pencil to mark the center of the dots as a guide for your stencil. (Our dots were spaced approximately 10” from one another vertically and 8” from one another horizontally.)
-
6
Place the stencil (we cut ours from a piece of frosted mylar) over the first mark, and secure the top and bottom of the stencil with painter’s tape so it doesn’t move during paint application. With a 2” paint brush and Harmony Interior Acrylic Latex (Sashay Sand SW 6051) make strokes from the outside of the dot towards the center to keep the circle’s edge crisp.
-
7
Let dry and enjoy!
Tip: Always clean your brushes for future use. Learn how to properly store and dispose of paint here.
-
8
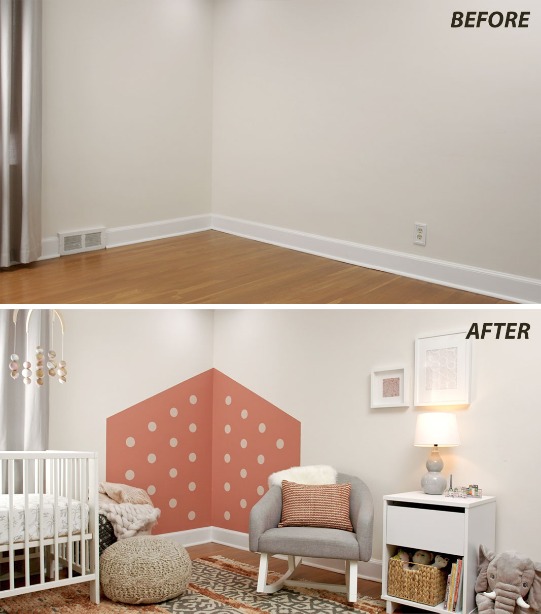
The BEFORE & AFTER…
Close