-
1
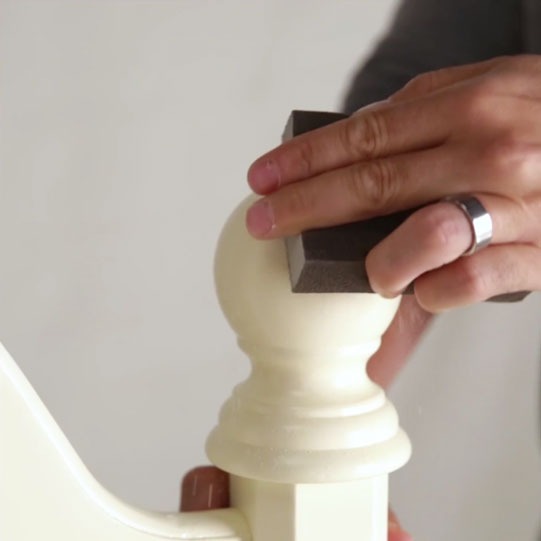
First things first: prep your surface. Clean and sand your wooden headboard in the direction of the grain, then use a damp cloth to remove any residual dust.
We recommend sanding with a heavier grit first to remove any large blemishes or rough spots, then smoothing out the wood with a fine grit.
-
2
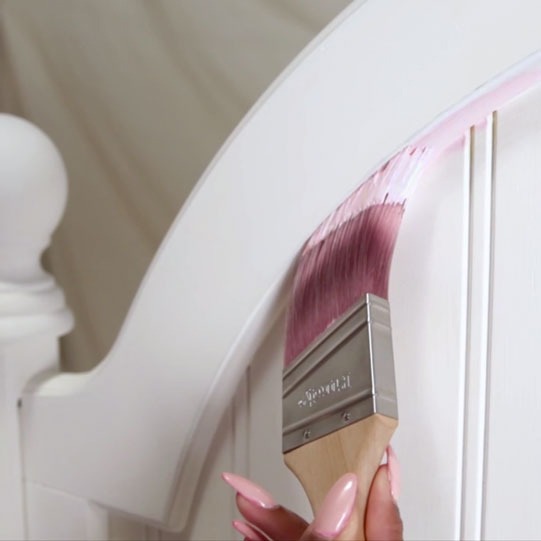
Once you're ready to get started, open your paint and give it a good stir. Then, start to apply your first paint color with a soft-bristle brush. For this project, we used a Purdy Nylox Dale soft 2 inch.
-
3
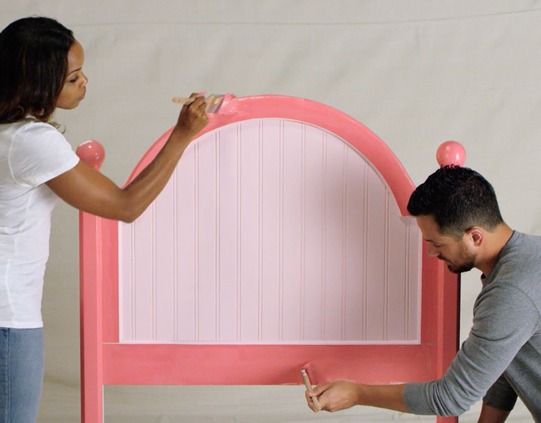
We chose to skip the tape for this project and free-hand the two colors of paint - just keep a damp cloth on hand for any drips or touch-ups.
When you’re painting with two colors, always start with the lighter color. That way, you can cover any mishaps with the darker hue.
-
4
Now that the light pink is complete, we painted the outside of the frame with our darker color. Allow the paint to dry according to the package, then apply a second coat if desired.
-
5
Once the frame is dry, the bed is ready to be assembled.
Clean up: Always clean your brushes for future use. Learn how to properly store and dispose of paint here.
-
- Time
- Afternoon
- Cost
- Medium
- Difficulty
- Intermediate


