

-
1
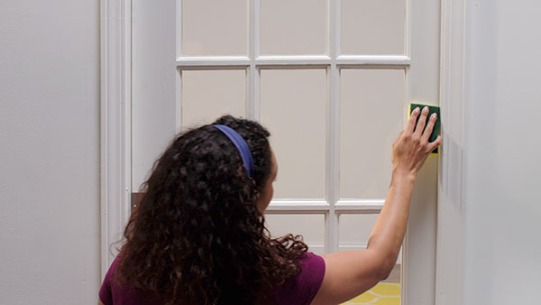
To ensure great paint adhesion, wash off any oil or dirt on the door using a bucket of soapy water, and sponge. Let it dry.
-
2
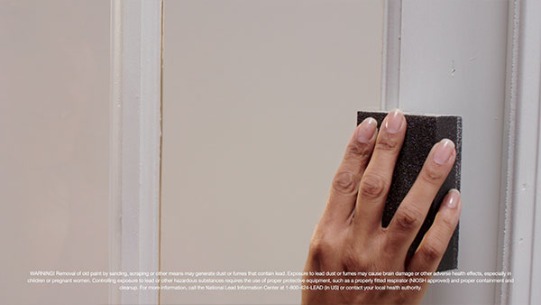
Sanding down the surface is essential to removing paint build up. Use a sanding block in circular motions to remove paint build up on the surface. Make sure to wipe off the excess dust once finished. We recommend using a damp rag.
WARNING! Removal of old paint by sanding, scraping or other means may generate dust or fumes that contain lead. Exposure to lead dust or fumes may cause brain damage or other adverse health effects, especially in children or pregnant women. Controlling exposure to lead or other hazardous substances requires the use of proper protective equipment, such as a properly fitted respirator (NIOSH approved) and proper containment and cleanup. For more information, call the National Lead Information Center at 1-800-424-LEAD (in US) or contact your local health authority.
-
3
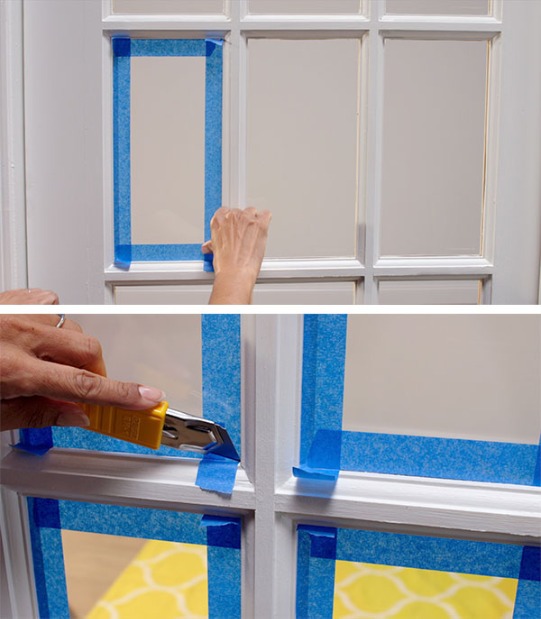
Use painter’s tape to section off each glass pane on the door.
Tip: Use a utility knife to cut excess tape off to ensure crisp clean edges.
-
4
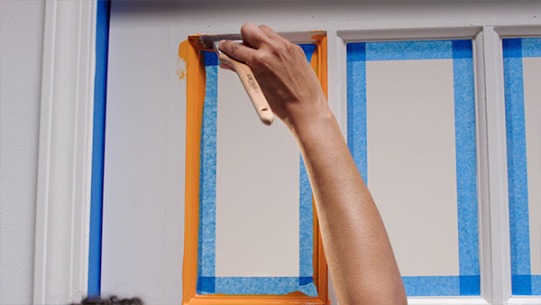
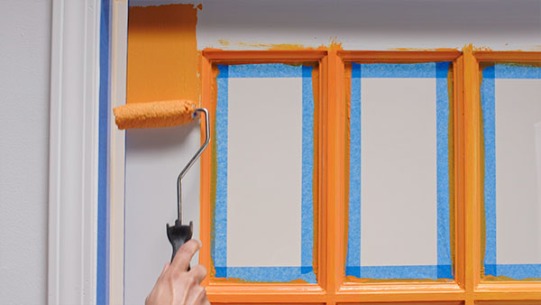
Use a 1” brush and Emerald Interior Acrylic Latex Paint (Navel SW 6887) to carefully edge around the panes of glass.
-
5
Then use a 4” mini roller with ¾” nap to paint the rest of the door, ensuring that the paint is applied as evenly as possible. Two coats of paint should be used, for an increased color saturation.
Tip: To avoid particles attaching to door surface, apply paint in a dust-free area.
-
6
While letting the paint dry completely on the door, (4-6 hours), begin painting the wall space.
-
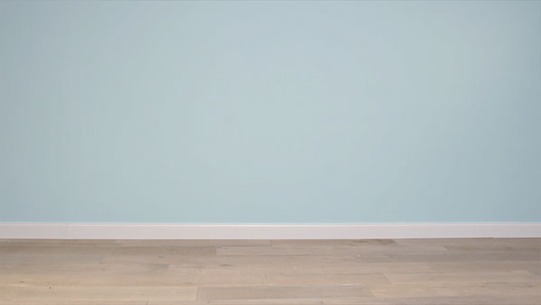
7
Wash wall with slightly soapy water and a sponge to remove any grease or debris.
-
8
Tape off the baseboards with painter’s tape. Cut in around the bottom and trim areas.
-
9
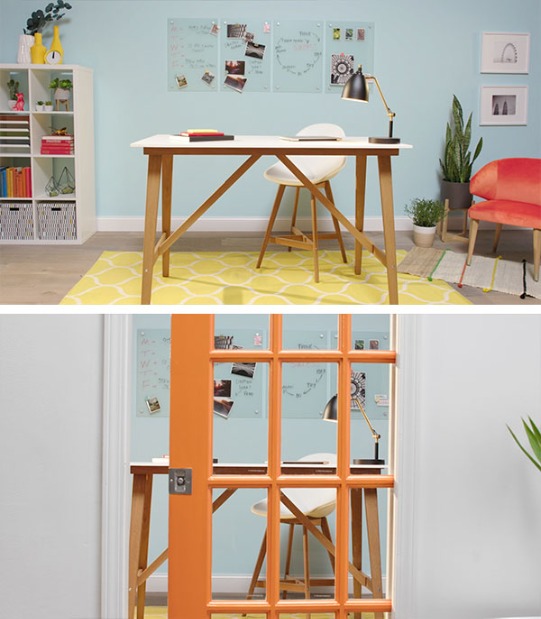
With a 9” roller with ¾” nap, apply Emerald Interior Acrylic Latex Paint (Swimming SW 6764) in the proper ‘W’ technique to ensure an event coat.
Tip: Remove tape before the paint has time to completely dry!
-
10
Let dry and enjoy!
-
11
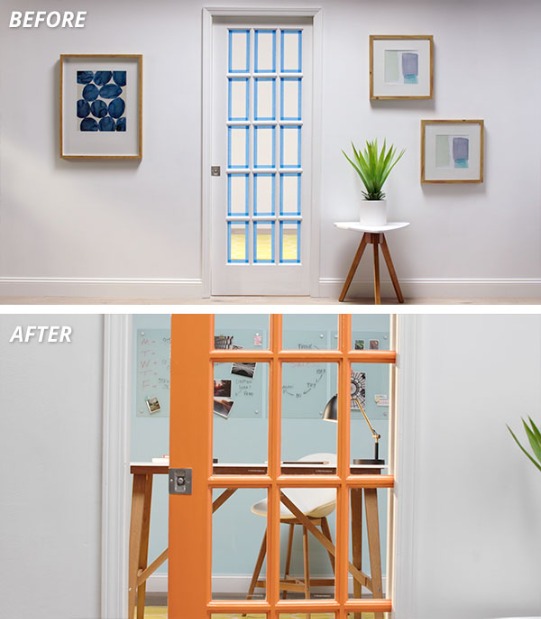
The BEFORE & AFTER…
Close