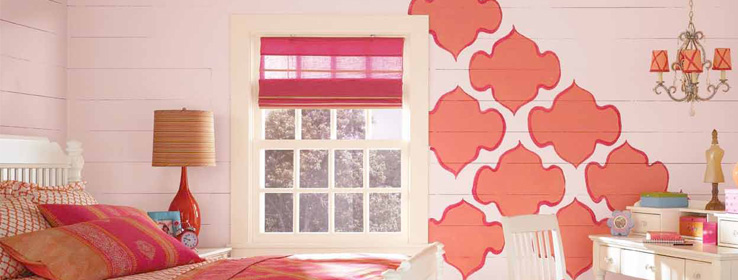
Wall graphics add a customized look to your room and are easy to accomplish with the right tools. Read the steps below on how to add wall graphics to your wall.
Supplies Needed:
Art Projector
Art: You can use an image from your child's bedding, a favorite book or clip art
Small to medium size paint brushes
Pencil
Paint in your selected colors
NOTE: Since you are painting only small areas, a quart of paint will usually be sufficientPaint Tray
Roller cover and frame
Paint brush for cut in around trim
Step 1:
When you have all your supplies ready, paint the walls your desired base color. Let dry for four hours or overnight for best results.
Step 2:
Project the image you have selected on to your wall, position and size to your satisfaction.
Step 3:
Using a pencil, trace the design on to the wall using a light touch. If you feel confident, you can keep the image projected on the wall and begin painting following the outlines of the projected image.
Step 4:
Begin painting your design with the colors you selected.
Tip: Let each color dry to the touch so you don't accidentally smudge one of your colors.
Step 5:
Sit back and enjoy with your child.


