To assure the highest quality results when applying interior wood stain, follow these steps and helpful tips from Sherwin-Williams stain experts.
Mix the stain thoroughly before you begin and frequently while you're staining. This helps keep the color consistent throughout the project.
Before proceeding, apply the stain on a discreet area of wood to test the color.
Apply stain by brushing or wiping it in the direction of the grain, using smooth, even strokes. Wipe off any excess.
Avoid unattractive lap marks by applying stain from an unpainted area back into the last wet stain. In other words, don't let a section of stain dry before you blend it in with stain from an adjoining section.
Let dry completely (usually 24 hours).
Apply a second coat if you want a darker look. Also, apply a second coat if staining badly weathered or unfinished wood.
Helpful Staining Tips
Use the right brush. Use a natural-bristle brush for oil stains and a synthetic-bristle brush for latex stains.
Apply stain only at the proper temperature. For most stains, 70 degrees Fahrenheit is the optimum, with the safety range from 50 to 90 degrees Fahrenheit. Stains do vary, so check the label first.
Avoid high humidity when applying stain. All finishes, including stains and paint, have trouble drying in moist conditions.
In addition to friendly, expert advice, your neighborhood Sherwin-Williams store has all the materials you need to achieve professional-looking results.
Applying the Protective Finish
Make sure the surface and your well-ventilated workroom are dust-free.
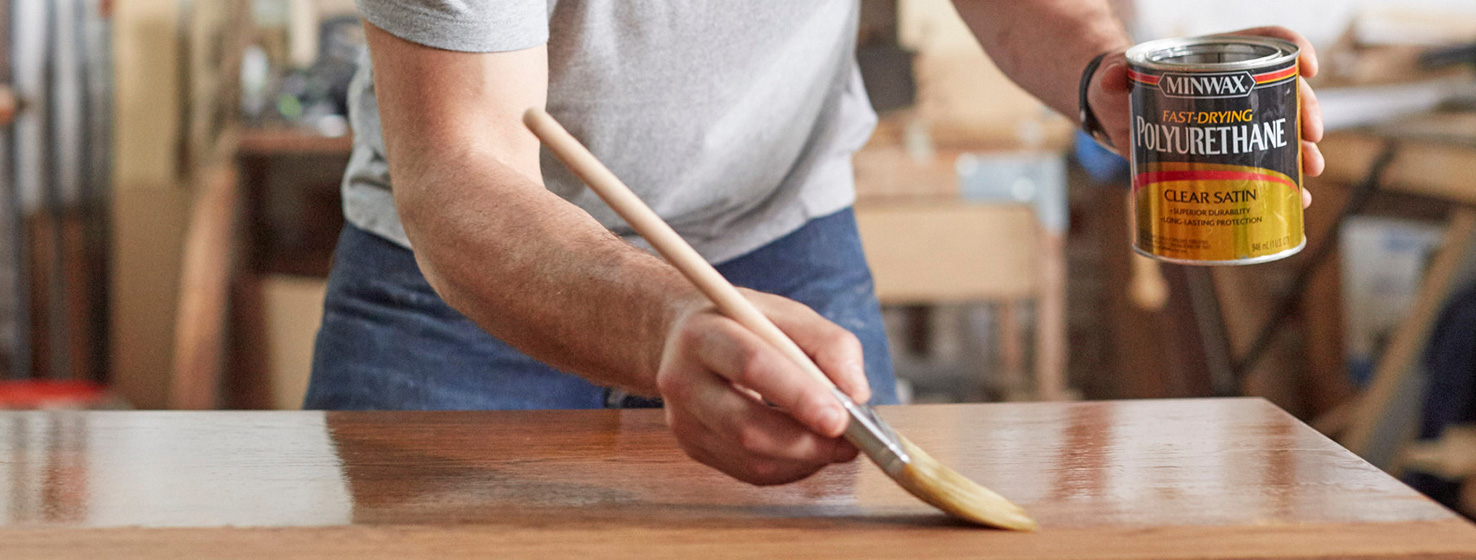
Dip the bristles a third of their length into the protective finish. Don't brush across the lip of the can; it will create bubbles in the finish coat.
Tips on dealing with accidental spill and how to clean up when you're done.
For Waterborne Products:
Wipe any spills before they dry with a paper or cloth towel dampened with water.
Clean brushes, rollers and other tools with soap and water.
For Oil-based Products:
Wipe any spills before they dry with a paper or cloth towel dampened with mineral spirits or paint thinner.
Cleaning tools and brushes of oil-based finishing products requires mineral spirits or paint thinner.
Pour the cleaning material into a clean bucket and rinse brushes and rollers well.
When done, allow the solids to settle out of the cleaner, then strain the liquid back into the original container for reuse. Allow the settled solids to air-dry away from children, pets or open flames, then dispose of in accordance with local regulations.
Rags and other waste soaked with oil finishes may spontaneously catch fire if improperly discarded. Place rags, steel wool and waste in a water-filled metal container immediately after use. Tightly seal and then dispose of in accordance with local regulations.
Note: Try to buy only the amount you need so there is little to dispose of when you complete your project. If you do have leftovers, please follow these guidelines:
Save small amounts of leftover stain and varnish for future touch-ups. Secure the lid.
Dispose of stains and varnish in accordance with local regulations.
Seal oil/alkyd stains and sealers in the can and store them safely away from heat sources until you can take them to an appropriate waste-disposal site, such as community paint/stain collection events, where you can safely dispose of leftover products.
Never pour paint, stain or any other coating down a drain, into a storm sewer or anywhere else that might contaminate the environment.


